

Somewhere in your house right now, there's a room you avoid. Maybe it's the grout that turned from white to something resembling fossilized coffee. Maybe it's the vanity that swallows your knees when you sit down. Or maybe it's the shower door that hasn't closed properly since a certain someone leaned on it during a renovation argument.
I've torn out four bathrooms in the last few years—one in my own house, three for family members who owed me favors and now owe me more. The first one took me eleven weekends and cost about $4,800. The last one took nine days and cost $2,900. The difference wasn't luck. It was sequence.
Here's how to renovate a bathroom step by step without losing your mind, your marriage, or your plumbing.
Key Takeaways
- Plan the layout before you buy anything. Moving a toilet costs more than replacing every fixture combined.
- The real budget killers are waterproofing errors and mid-project scope changes, not tile prices.
- You need a working bathroom throughout the project. Plan for it or you'll be showering at the gym for three weeks.
- Demo day will reveal at least one surprise. Rotten subfloor, illegal wiring, a mysterious pipe to nowhere. Budget 15% for the unknown.
- Tile work rewards patience and punishes speed. Rushing the waterproofing membrane is the single most expensive mistake I've made.
Renovate a bathroom step by step: what actually comes first
Before you pick a single tile, you need to answer one question honestly: what is this bathroom for? A guest powder room and a primary ensuite demand completely different levels of investment, waterproofing, and finish quality.
I learned this the hard way. My first renovation, I treated a half-bath like a full spa. Marble mosaic, heated floor, the works. It cost me $3,200 for a room where people spend maybe ninety seconds at a time. My brother still brings it up at holidays.
The planning phase most people skip
Measure everything. Then measure again. Draw your layout on graph paper—yes, actual paper—and mark where the water lines, drain, and outlets currently sit. Every fixture you relocate adds roughly $400 to $1,200 in plumbing labor alone, depending on whether you're shifting a sink or rerouting a drain through a joist.
Here's my rule: if the toilet and shower drain stay put, your budget is manageable. If either moves, you're in a different project entirely.
What to do first when you're overwhelmed
Write a list of everything that bothers you about the current bathroom. Rank each item by how much it affects your daily use. The leaky faucet that drips all night? Top five. The tile color you've grown tired of? Bottom three.
This ranking becomes your scope document. Anything below the line gets cut when the budget tightens—and it will tighten.
Setting a real budget for a bathroom renovation
You can renovate a full bathroom for under $3,000 if you do the labor yourself and keep the layout intact. I've done it. But you need to know where the money actually goes.

| Category | Budget approach | Mid-range |
|---|---|---|
| Tile & flooring | $300–$600 (ceramic, stock sizes) | $800–$1,500 (porcelain, larger format) |
| Vanity & sink | $150–$400 (big-box stock) | $500–$1,200 (semi-custom) |
| Fixtures (faucet, showerhead, toilet) | $200–$450 | $600–$1,200 |
| Waterproofing materials | $80–$150 | $150–$300 |
| Plumbing & electrical (if hiring out) | $500–$1,000 | $1,500–$3,500 |
| Contingency (15%) | $200–$350 | $500–$1,000 |
My $2,900 bathroom used stock ceramic tile, a $280 vanity from a warehouse sale, and a toilet I bought on clearance because the box was damaged. The box damage was cosmetic. The toilet was fine. Nobody who visits your bathroom will ask what you paid for the toilet.
The scope creep trap
Halfway through my second renovation, I decided the lighting looked dated. That decision cascaded into rewiring, which revealed a junction box that wasn't up to code, which turned a $600 lighting swap into a $1,400 electrical fix.
Sound familiar? The antidote is simple: once demo starts, no new ideas. Keep a notebook, write down every "wouldn't it be nice if…" thought, and revisit it after the project is done. Most of those ideas will look absurd in hindsight.
The demo phase: what to expect (and what will surprise you)
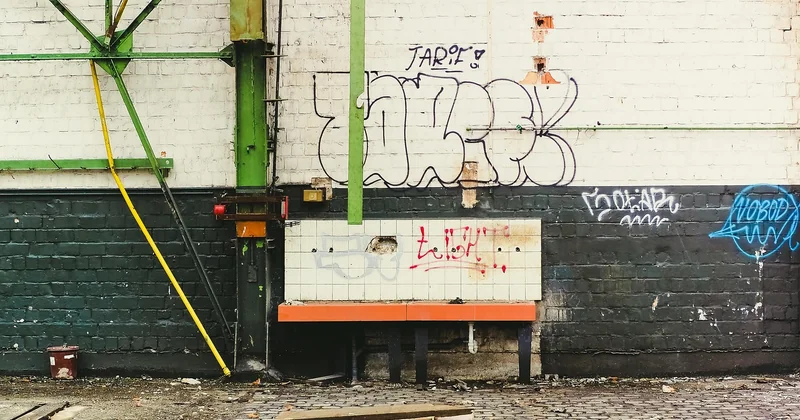
Demo is the most satisfying part and the most dangerous. You'll feel powerful swinging a sledgehammer. Then you'll hit a cast-iron drain pipe that's rusted through and realize you can't put the wall back until it's replaced.
Here's the sequence I follow:
- Shut off water at the main. Verify by opening the lowest faucet in the house.
- Kill power to the bathroom circuit. Test with a non-contact voltage tester—not your fingers.
- Remove the toilet first. It's heavy, awkward, and the sooner it's gone, the more room you have.
- Pull the vanity, then the mirror, then the light fixtures.
- Strip tile with a chisel and hammer. A rotary hammer speeds this up dramatically if you have one.
- Remove drywall down to the studs in wet areas. In dry areas, you can sometimes tile over existing drywall—but I don't recommend it.
Wear a respirator. Old bathrooms hide mold, and demo dust carries everything you don't want in your lungs. I skipped this on my first project and spent three days with a cough that sounded like a car engine failing to start.
What to do when you find a problem
Stop. Photograph it. Then call someone if it involves structural framing or gas lines. I've talked myself into "I can fix this" more times than I care to admit, and the one time it involved a load-bearing wall, I was wrong in a way that cost $2,200 to correct.
Rot, mold, and outdated wiring are common finds. Rot in the subfloor around the toilet flange is almost guaranteed in older homes. Replace the affected plywood—don't patch it.
Rough-in: plumbing, electrical, and waterproofing
This is the phase nobody sees and the phase that determines whether your renovation lasts twenty years or two.
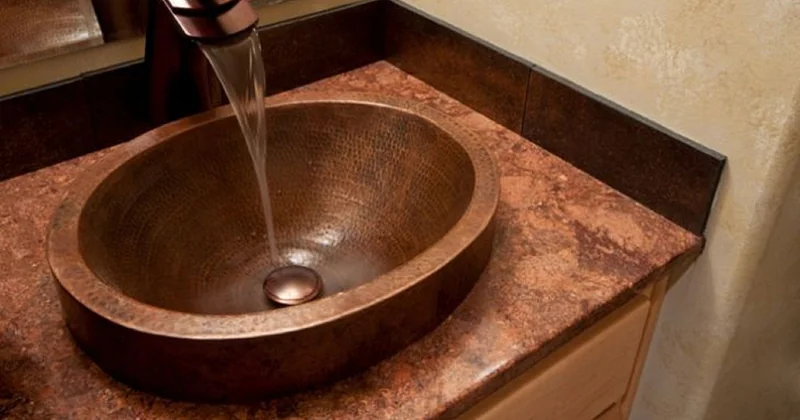
Plumbing and electrical rough-in
If you're keeping the layout, this phase is mostly inspection and replacement. Swap out old shutoff valves while the walls are open—they cost a few dollars each and fail at the worst possible moment. Add a GFCI outlet if you don't have one. Add a dedicated circuit for a heated floor if you're installing one.
Hire a licensed electrician for anything beyond swapping a fixture. This isn't the place to learn on the job.
Waterproofing: the step that decides everything
Waterproofing is where DIY bathrooms fail. I'm not being dramatic. Water damage behind tile doesn't show up for months, and by then you're tearing out everything you just built.
Use a cement-based waterproofing membrane painted over the substrate in wet areas—shower walls, the floor, and at least six inches up every wall adjacent to the shower. Apply two coats. Let each coat cure fully. Don't rush this. I rushed it once, and the shower leaked into the ceiling below within four months. Fixing that leak cost more than the entire original tile job.
Pay attention to corners and seams. Embed reinforcing fabric tape into the membrane at every change of plane. This is tedious. Do it anyway.
Tile installation and finishing
Tile is the part everyone wants to talk about and the part that matters least to the bathroom's longevity. If your waterproofing is solid, mediocre tile will still last. If it isn't, even perfect tile won't save you.
How to remodel a bathroom with tile without losing your mind
Plan your layout so you don't end up with tiny slivers of cut tile in visible corners. Start from the center of the most visible wall and work outward. Use spacers. Check for level every few rows—tile has a way of drifting, and you won't notice until you're eight rows in and nothing lines up.
Grout choice matters more than most people think. Epoxy grout costs more but resists staining far better in a shower. I switched to it after watching my cement grout turn orange in a rental property within a year.
Finishing touches
Install the vanity, connect the plumbing, hang the mirror, set the fixtures. Caulk every seam where water can travel—around the vanity, the tub, the shower base. Use silicone caulk in wet areas, not painter's caulk.
Let everything cure for 24 hours before using the shower. I know you want to test it. Wait anyway.
How long does a bathroom renovation actually take?
My fastest was nine days working evenings and weekends. My slowest was eleven weekends because I made the mistake of ordering a vanity that arrived six weeks late.
Realistic timelines:
- Demo: 1–2 days
- Rough-in and inspection: 2–4 days
- Waterproofing: 2 days (plus curing time)
- Tile: 3–5 days
- Fixtures and finishing: 2–3 days
Order your materials before you start demo. This single piece of advice would have saved me three weeks of showering in a guest bathroom with a showerhead that sprayed directly at my face.
Things I wish I knew before remodeling a bathroom
Nobody tells you that you'll be without a functional bathroom for at least a week, probably two. Arrange a backup. If you only have one bathroom, this changes everything about your timeline and your tolerance for delays.
Take photos of every wall before you close it up. When something leaks or fails in two years, those photos will tell you exactly where the pipes run and save hours of exploratory demolition.
And if you're tempted to skip the permit because "it's just a bathroom," don't. Unpermitted work becomes a problem when you sell. I watched a neighbor's sale fall through over an unpermitted electrical panel in a bathroom he'd renovated five years earlier. The buyer's inspector caught it in twenty minutes.
Your bathroom renovation will take longer than you think and cost more than you planned. That's true for everyone, including people who do this for a living. But if you sequence the work correctly—plan, budget, demo, rough-in, waterproof, tile, finish—you'll end up with a room that works, lasts, and doesn't make you wince every time you walk past it.
Which, honestly, is the whole point.


